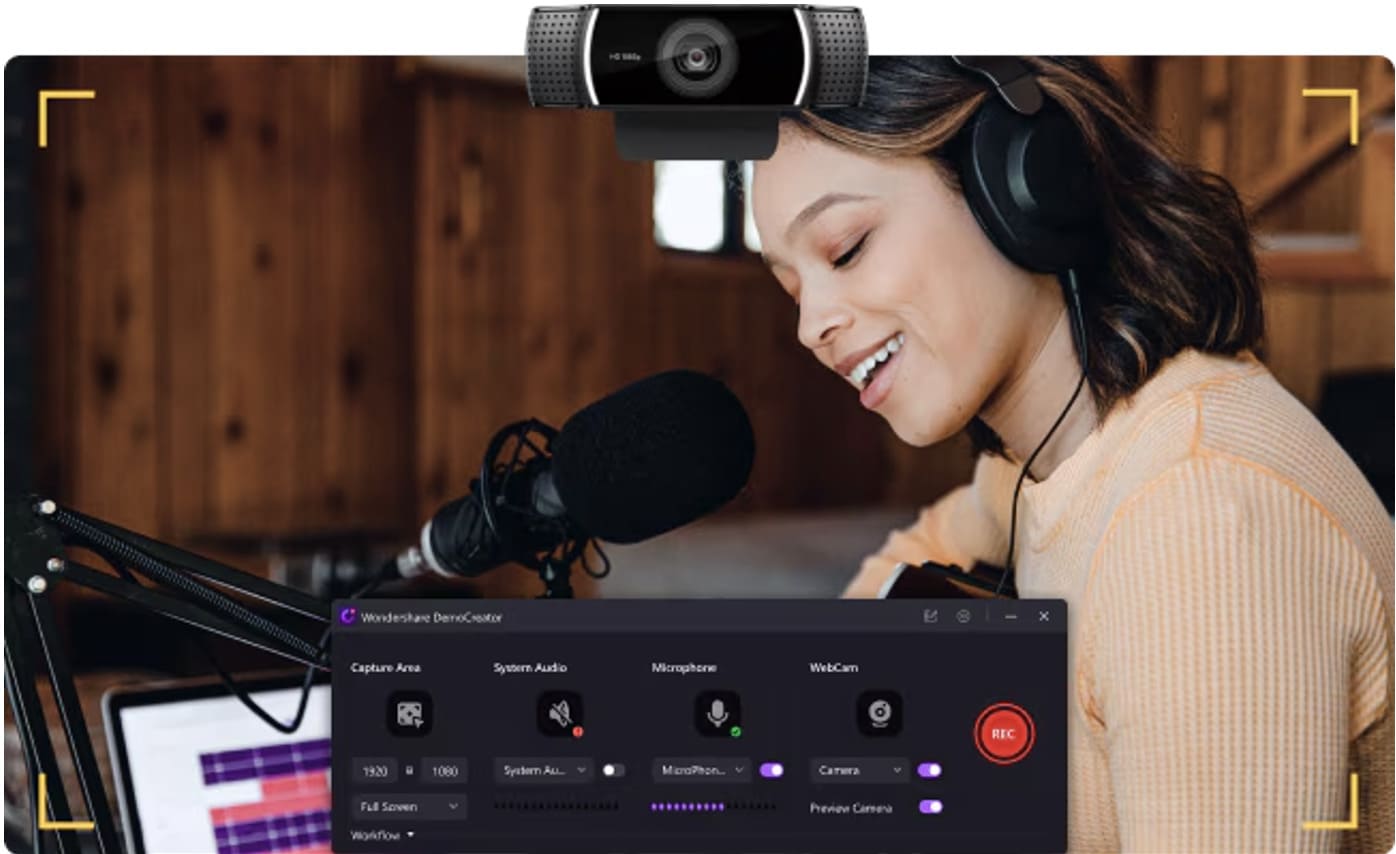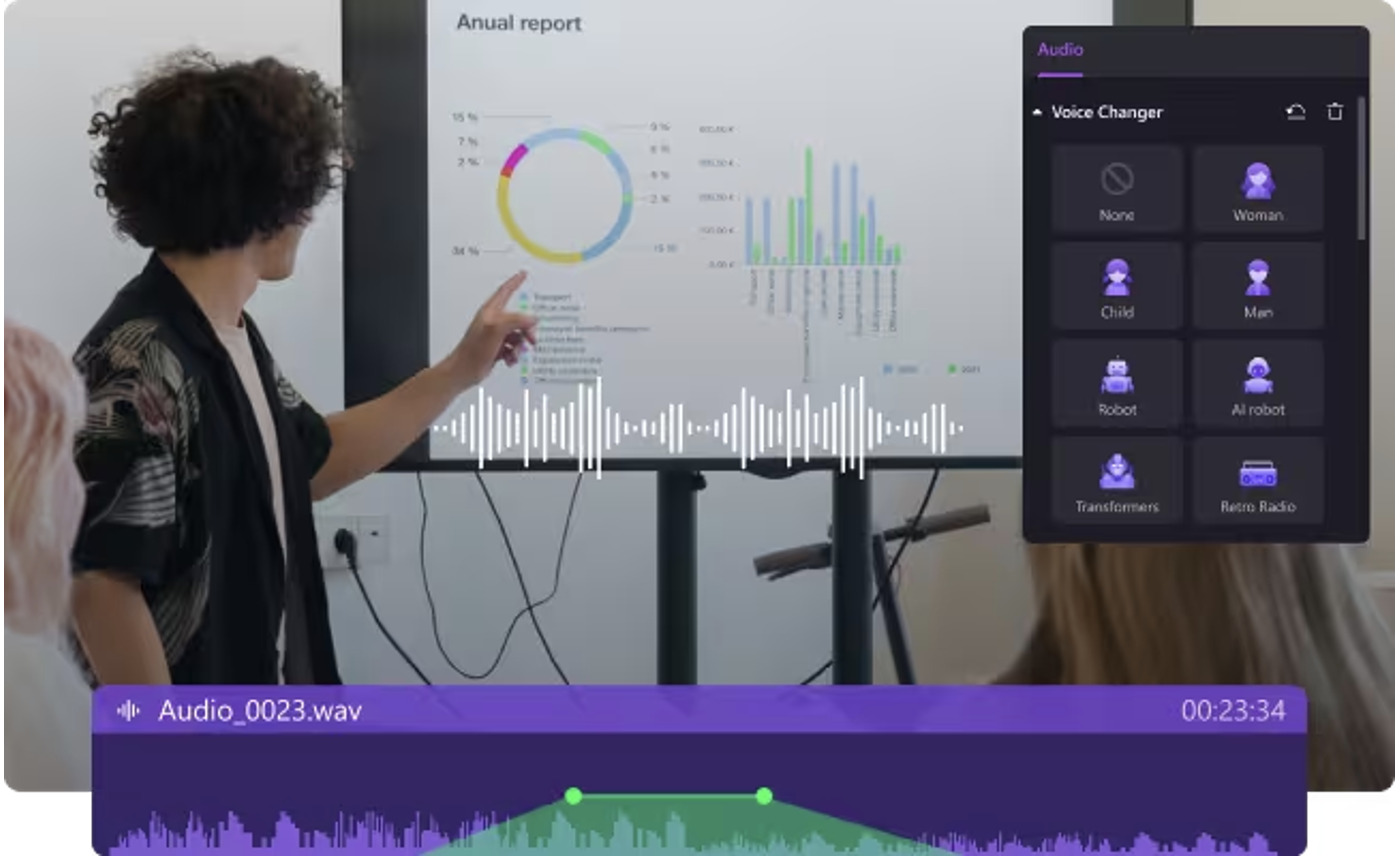
Screen and audio capture on Mac can be crucial in many activities, including creating how-to videos, recording gameplay, or holding meetings with illustrations. Wondershare DemoCreator is a tool needed in the recording and editing of videos and since this software to record screen and audio Mac offers the best solution to these needs, it has some unique features like the AI functions to use. It is undoubtedly the best software for screen and audio Mac recording. Let’s see how you can use it.
Step-by-Step Guide
From the below steps, you will see this screen recorder is easy to use and has various great features.
Download and Install DemoCreator
- Software can be obtained from a software store or it can also be downloaded from an online platform.
- Go to Wondershare DemoCreator website, home page.
- Go to the main menu and choose “Products” in the drop-down list, then click on “DemoCreator.
- For the Mac OS users download the app by clicking the “Download” button.
Installation Steps
- Open the downloaded .dmg file.
- A picture of the DemoCreator application will appear on the dock, and then right-click on it, with a highlight on move to the trash, then drag it to the applications folder.
- Go to the Applications folder and double-click DemoCreator; when the application opens, follow the instructions provided in the Interface.
Setting Up for Recording

- Initial Software Setup. Welcome to the DemoCreator where you can start a new project just by opening the application, signing in with your Wondershare account that you may have, or creating a new account if it is needed.
- Learn the main workspace layout, where you can find the options for recording the screen and editing the videos, as well as AI-related features.
Configuring Recording Preferences
- If the computer is configured with multiple cameras, the Video Source will be set to the default camera and the user can select the other camera if desired; to do so, click the drop-down beside where it says “New Recording”:
- When options for recording are being accessed, select the area of the screen you want to record.
- Choose an audio stream, for example, the computer sound, input, or both at a time.
- Change other things such as the frame rate and the video quality depending on the desired outcome.
Screen and Audio Recording

- Before proceeding to recording a game, you have to adjust the settings which is as shown below Once you have adjusted the settings, click on the “Start Recording” button.
- By using the hotkeys you can regulate the process of the recording power ( for instance, . g. Thus, the types of programs are Playback the program from the beginning (st), Pause the program (p), Resume the program (r), and Stop the program.
- Then, through the mouse pointer on the screen, you want to capture for your recording or record the overall screen.
- Make sure you are currently receiving all your desired audio sources via the settings menu.
Editing Your Recording
- Once you pause the recording process, your video will be opened at the next stage of video editing.
- To transform the timeline, you can easily cut, trim, and reshape the clips that makes up your project.
- Insert notes, captions, and other features you may need in the blank spaces.
- Suggest using existing painting and transitions to make the video more interesting and unique.
- This is done using the drag-and-drop feature where you need to drag and drop the effects and transitions in the appropriate places in your video.
Exporting and Sharing
- When you finish editing the video, go to the top right corner of the screen and click the “Export” button.
- Select the format to export in, define the size of the video, and other parameters if needed.
- Check out what the results are going to look like based on the output settings and tweak them for further optimization.
Sharing Your Recorded Content
- The last thing you need to do will be to save your final video to the desired location on the Mac.
- Embedded with the share feature to upload to other sites such as Youtube, Vimeo, or social sharing.
Conclusion
Wondershare DemoCreator is one of the best Mac screen recorders for creating professional Mac screen and audio recordings and editing. Overall, due to the intuitive interface and the array of resources the program has, it can be utilized for different types of records. So, to make sure you won’t miss out on all of these options, try DemoCreator for yourself!
Disclaimer: This article contains sponsored marketing content. It is intended for promotional purposes and should not be considered as an endorsement or recommendation by our website. Readers are encouraged to conduct their own research and exercise their own judgment before making any decisions based on the information provided in this article.


