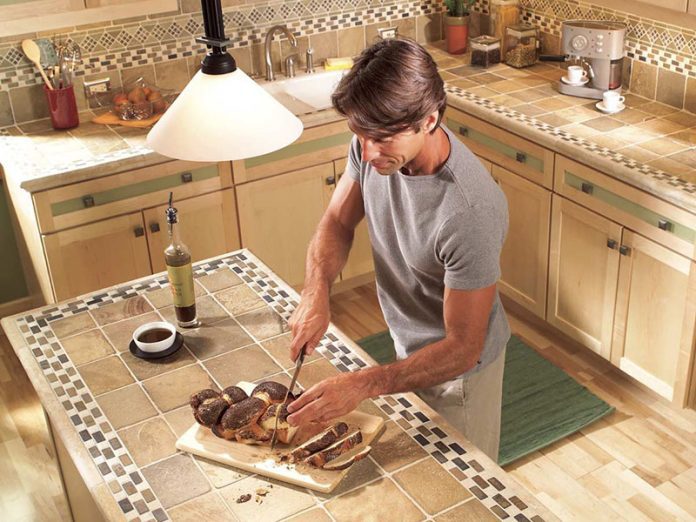
If the cost of installing stone countertops is preventing you from getting started on a bathroom or kitchen renovation, you could install a tile countertop instead and save thousands of dollars.
There are several reasons why you might choose to install a tile countertop in your kitchen or bathroom:
Aesthetics: Tile countertops offer a wide variety of design options, including different colors, textures, and patterns. This allows you to create a custom look that complements your decor and personal style. If you’re looking for tile stores in Barrie, you’ll find a range of options to choose from, helping you find the perfect tiles for your countertop project.
Durability: Tile is a durable and long-lasting material that can withstand daily use and wear. It is resistant to scratches, stains, and heat, making it a great choice for high-traffic areas like kitchens and bathrooms.
Maintenance: Tile countertops are relatively easy to maintain and keep clean. You can wipe them down with a damp cloth or sponge, and they do not require any special cleaning products.
Cost: Tile is generally less expensive than other countertop materials like granite or quartz. This makes it a more affordable option for those on a budget.
DIY-friendly: Installing a tile countertop is a project that many DIY enthusiasts can take on themselves. With some basic tools and knowledge, you can save money by installing the countertop yourself.
Installing a tile countertop can be a great way to upgrade your kitchen or bathroom. Here are the basic steps for installing a tile countertop:
- Prepare the countertop: Start by removing the old countertop if there is one. Then, measure and cut the plywood to fit the dimensions of the countertop. Attach the plywood to the cabinets or support structure with screws.
- Install the backer board: Cut the backer board to fit the countertop and use screws to attach it to the plywood. Make sure there are no gaps between the backer board and the plywood.
- Plan the tile layout: Use chalk lines or a dry-fit method to determine the layout of the tiles. Make sure to account for any cut tiles around edges and corners.
- Apply adhesive: Apply a layer of tile adhesive to the backer board using a notched trowel. Work in small sections to prevent the adhesive from drying out.
- Lay the tiles: Start laying the tiles on the adhesive, using spacers to maintain even spacing between tiles. Work from the back of the countertop towards the front, and use a level to ensure that the tiles are level and even.
- Cut tiles: Use a tile cutter or tile saw to cut tiles to fit around edges, corners, and any other obstacles.
- Grout the tiles: Once the tiles have been laid and the adhesive has dried, remove the spacers and use a rubber float to spread grout over the tiles. Make sure to fill all the gaps between the tiles.
- Seal the grout: After the grout has dried, use a grout sealer to protect the grout from moisture and stains.
- Finish the edges: Install edge tiles or use a bullnose trim to finish the edges of the countertop.
- Clean up: Use a damp sponge to clean off any excess grout from the tiles, and let the countertop dry completely.
By following these steps, you can install a tile countertop that is both functional and attractive.


