


The security camera devices offer unparalleled peace of mind to users who seek comprehensive monitoring capabilities. However, properly installing wired security cameras can be tricky for beginners. In this article, we will guide you through the process step-by-step, enabling you to harness the full potential of these powerful devices with confidence and ease.
Wired security cameras: Why you need to use them
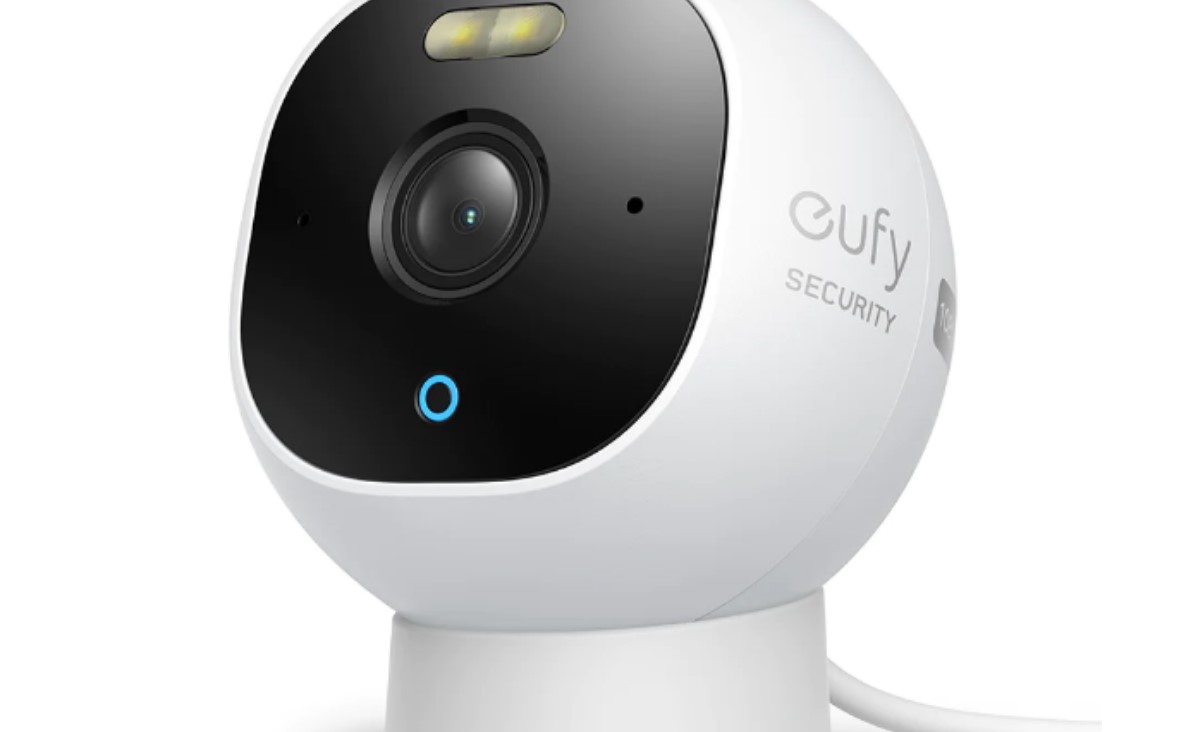
Here are just a few of the benefits that you can enjoy by using a wired security camera such as Outdoor Cam E210:
Improved Video Quality
Wired security cameras produce much higher quality video, such as 1080p. The wired connection provides a much more stable and reliable signal. You can enjoy clearer and more detailed video footage, making identifying potential intruders or other threats easier.
Lower Risk of Interference
Wired security cameras are also less likely to experience interference. The wired connection is not susceptible to the same kinds of interference. You can enjoy a more reliable connection and less chance of losing your video feed.
Greater Distance Coverage
Wired security cameras can typically cover a greater distance than. The wired connection can be run through walls and other obstacles. You can place your wired camera in a strategic location to cover a larger area.
Reduced Installation Costs
Wired security cameras are usually much easier and cheaper to install. You don’t need to worry about installing a wireless network or dealing with the potential interference issues that can come with it. Additionally, wired security cameras usually come with longer cables, Alsowhich can make it easier to run the wiring through your home or business.
How to Install a Wired Security Camera
Here are steps for you to install a wired security camera:
Step 1: mount the camera
The first step is to mount the camera. This can be done using screws or brackets, depending on your camera type. Once the camera is mounted, you must connect the power cable to the camera and an outlet.
Step 2: Connect the camera
The next step is to connect the camera to your security system. If you are using an Ethernet connection, you must connect the Ethernet cable to the camera and the security system. Using a wireless connection, you must connect the receiver to the camera and the security system.
Step 3: configure the security system
Once the camera is connected to the security system, you will need to configure the security system to recognize the camera. This process will vary depending on the type of security system you have, but most systems will allow you to add the camera using a menu or by entering the camera’s IP address.
Conclusion
By following the steps outlined in this article, you can successfully set up and use wired security cameras. Remember to carefully plan the camera placement, ensure proper power supply and connectivity, and use additional features such as motion detection and remote access. With the right setup, you can enjoy peace of mind knowing that your property is under constant surveillance. Take the necessary steps today to enhance your security measures by installing a wired security camera system.


